Spring Break Bronze Goddess
After a far too short Spring Break, school is back in session. Because my head is in the clouds (or on the beach in this case), I’ve created a makeup look for the occasion! We hope you enjoy this glowy, beach, bronze goddess!
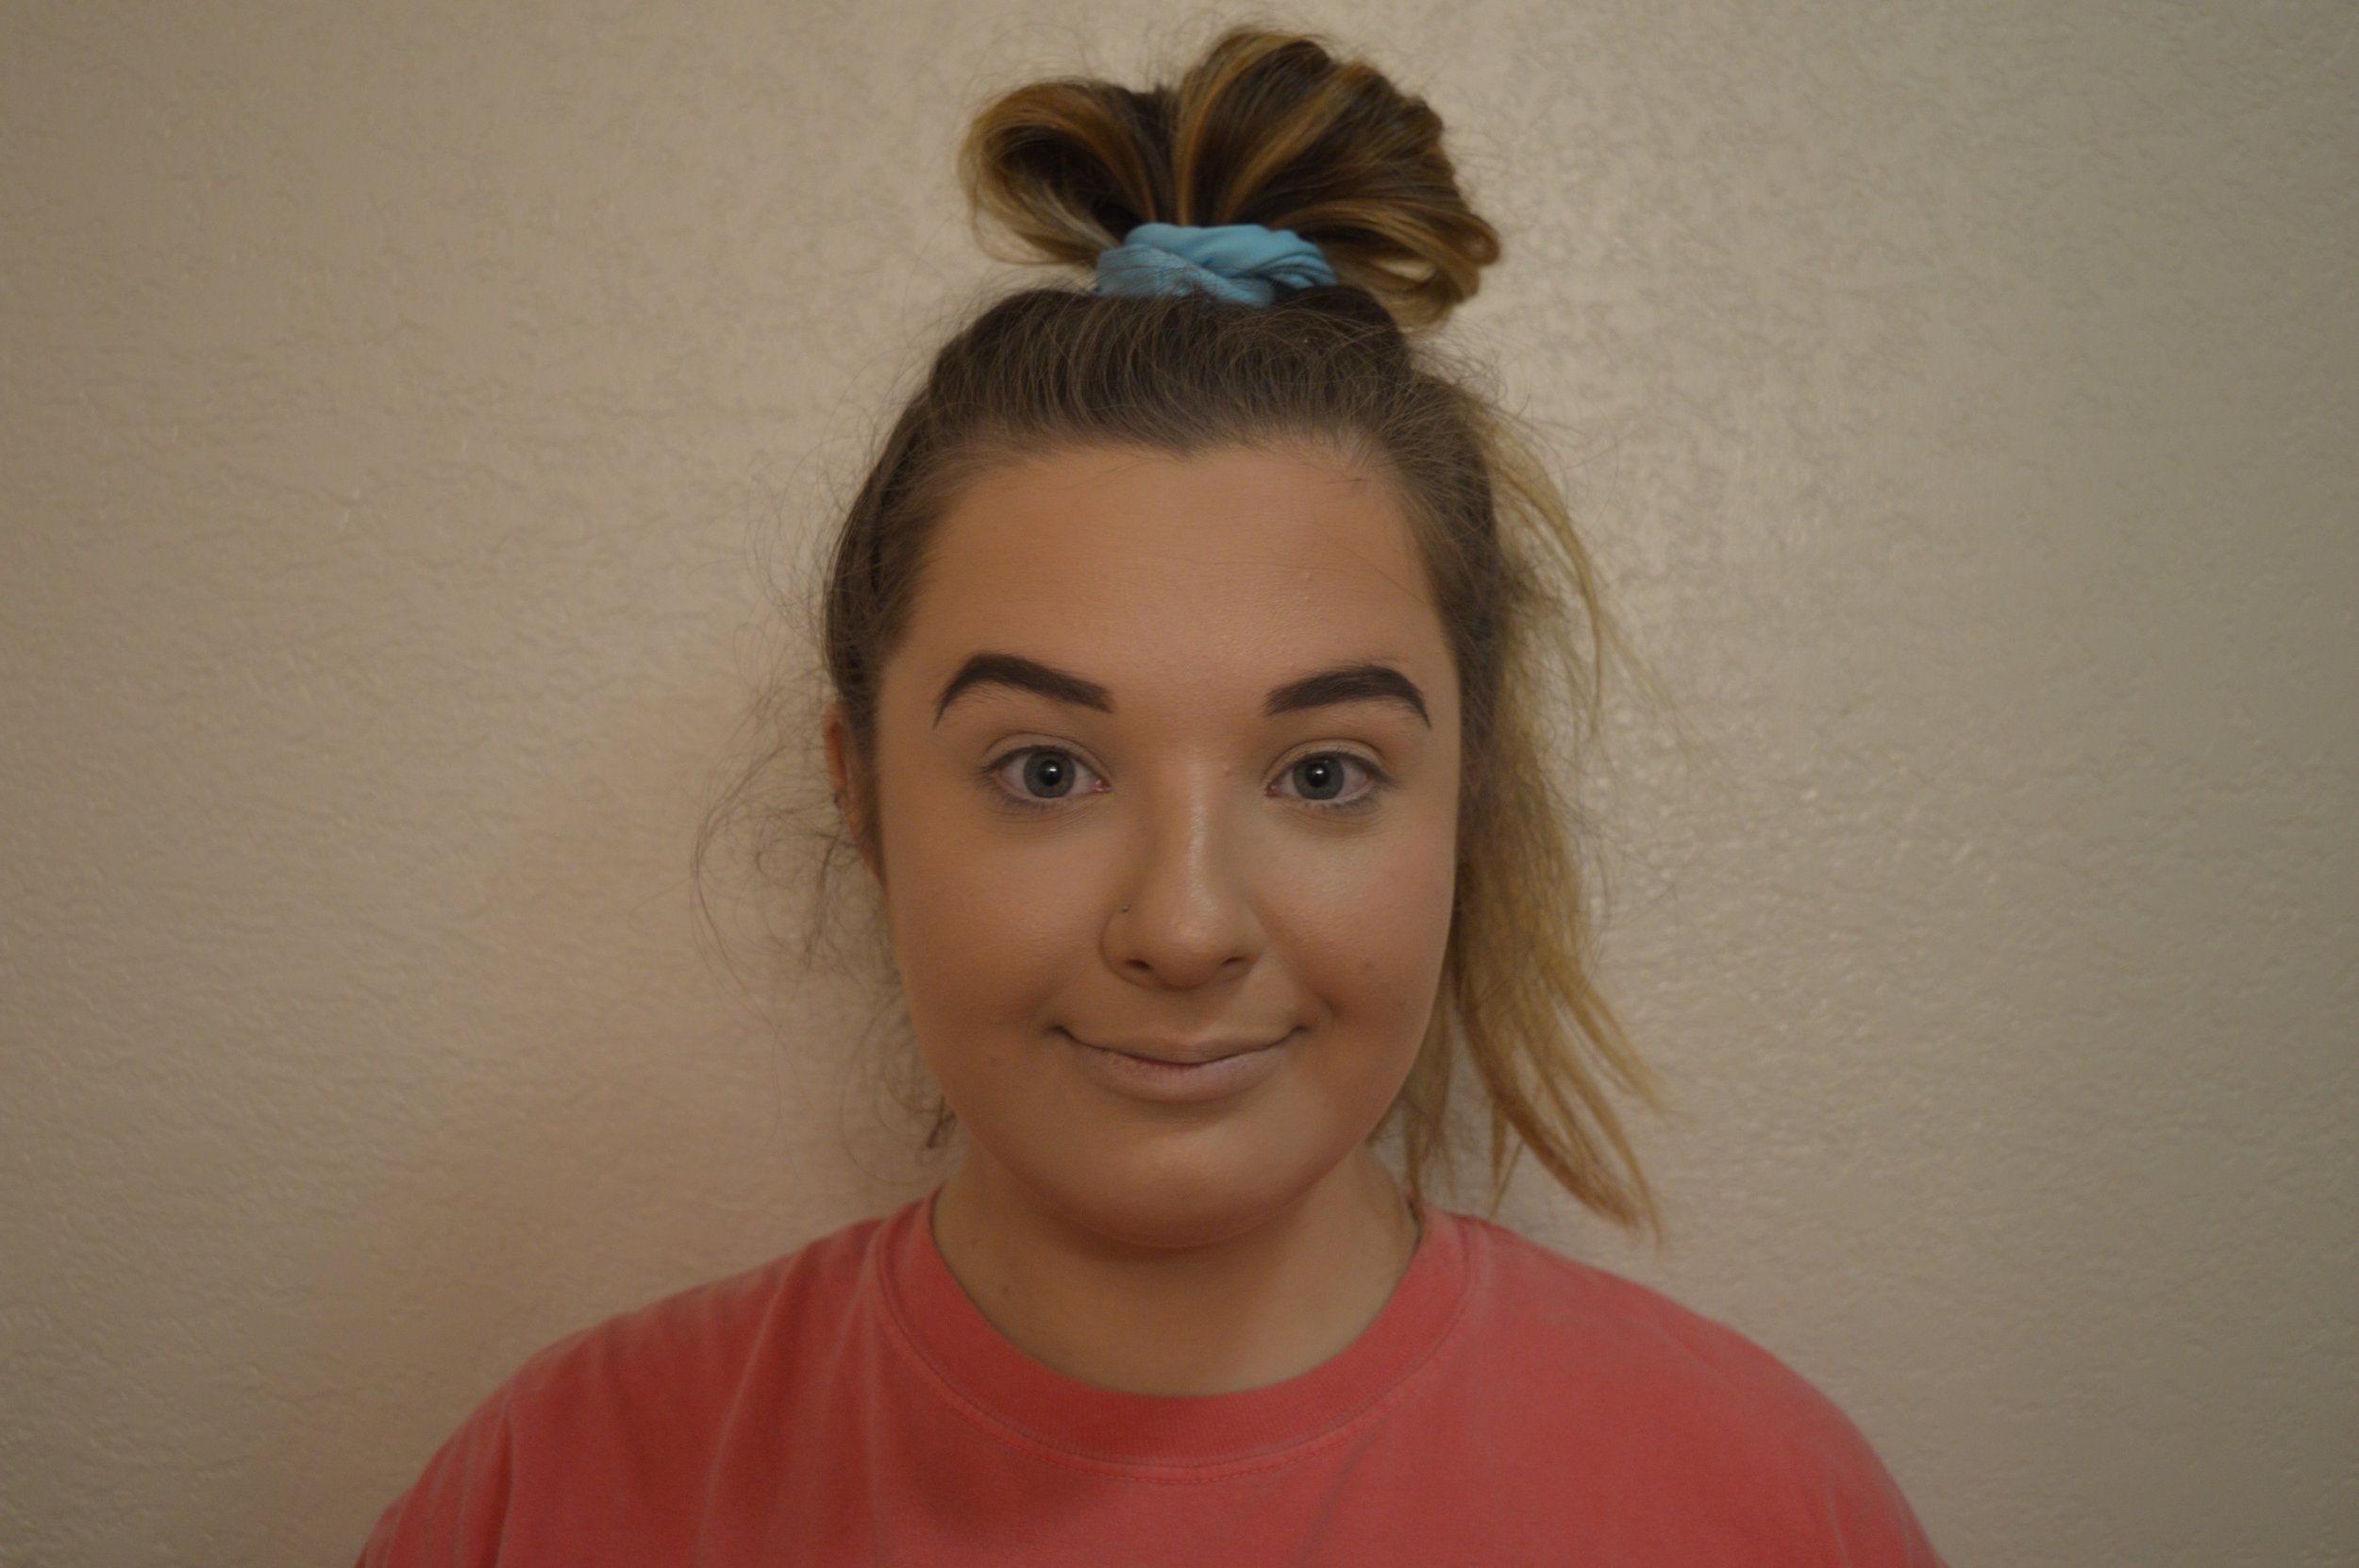
Step 1
A bun on the top of my head is imperative to keeping my hair out from the destruction, AKA makeup.

Step 2
To get that healthy glowy look, a good prep is essential. Even though we are slowly (but surely!) moving into spring, keeping your face moisturized it still the #1 tip in a good makeup routine.
Products Used:
L’Oreal Magic Lumi Light Infusing Primer
Too Faced Hangover RX Primer
Mac Fix+
Tatcha Balanced Pore Perfecting Water Gel Moisturizer
To get the most radiant skin, it’s important to start with a luminous primer. This way, there is a layer of glowing skin to act as a base to your foundation.
Step 3
Next step is the foundation. I am in love with the L’Oreal Infallible Pro-Glow foundation in shade 202 Creamy Natural. Not only is this foundation affordable, but it has a beautiful glowing sheen too. My favorite way to apply this foundation is using a Beauty Blender to really sink the product into my skin. After foundation comes concealer. In choosing concealer, especially for a springtime look, pick a shade that is a few shades lighter than your foundation. Doing this will brighten up the center of the face and will make you look especially alert. Make sure to apply concealer under the eyes, on the forehead, bridge of the nose, cupid’s bow, and chin!
Products Used:
L’Oreal 24hr Infallible Pro-Glow Foundation shade 202 Creamy Natural
Smashbox Studio Skin 24hr Waterproof Concealer shade Fair
The Original Beauty Blender
Laura Mercier Loose Setting Powder in Translucent
Side Note:
Setting with powder isn’t 100% necessary, but I do it because it makes all the other face products go on more evenly. Pro tip: make sure to blend out the creases under your eyes right before applying powder or you will set them as they are.

Step 4
This is the step where the beach goddess comes to life. The first step is to start with bronzer. Make sure to start with a light hand and build up from there. In this case, I used a second bronzer with some shimmer to lay overtop what I just applied to produce an added glow. After that comes blush, so make sure you also use a light hand because looking like a clown with big red cheeks is easy to do. The final step and my favorite part is highlight. To achieve a highlight that can be seen from space, there are two key parts. The first is using a liquid highlight. I apply this with my fingertips by patting the product on the highest points of my face. This includes my cheekbones, nose, temples, cupid’s bow, and chin. After the liquid highlight comes the pressed highlight. Apply the pressed product in the same places you placed the liquid and you’ll be beaming in no time.
Products Used:
Physicians Formula Butter Bronzer shade Light Bronzer
Too Faced Sweetheart Bronzer shade Sweet Tea
Milani Baked Blush shade 05 Luminoso
Sephora Radiant Luminizing Drops shade Ultra Light
Laura Geller Baked Gelato Swirl Illuminator in Gilded Honey

Step 5
All I’ve got to say for this is banging brows are always a must.
Products Used:
Anastasia Beverly Hills Brow Wiz in shade Dark Brown
Anastasia Beverly Hills Clear Brow Gel
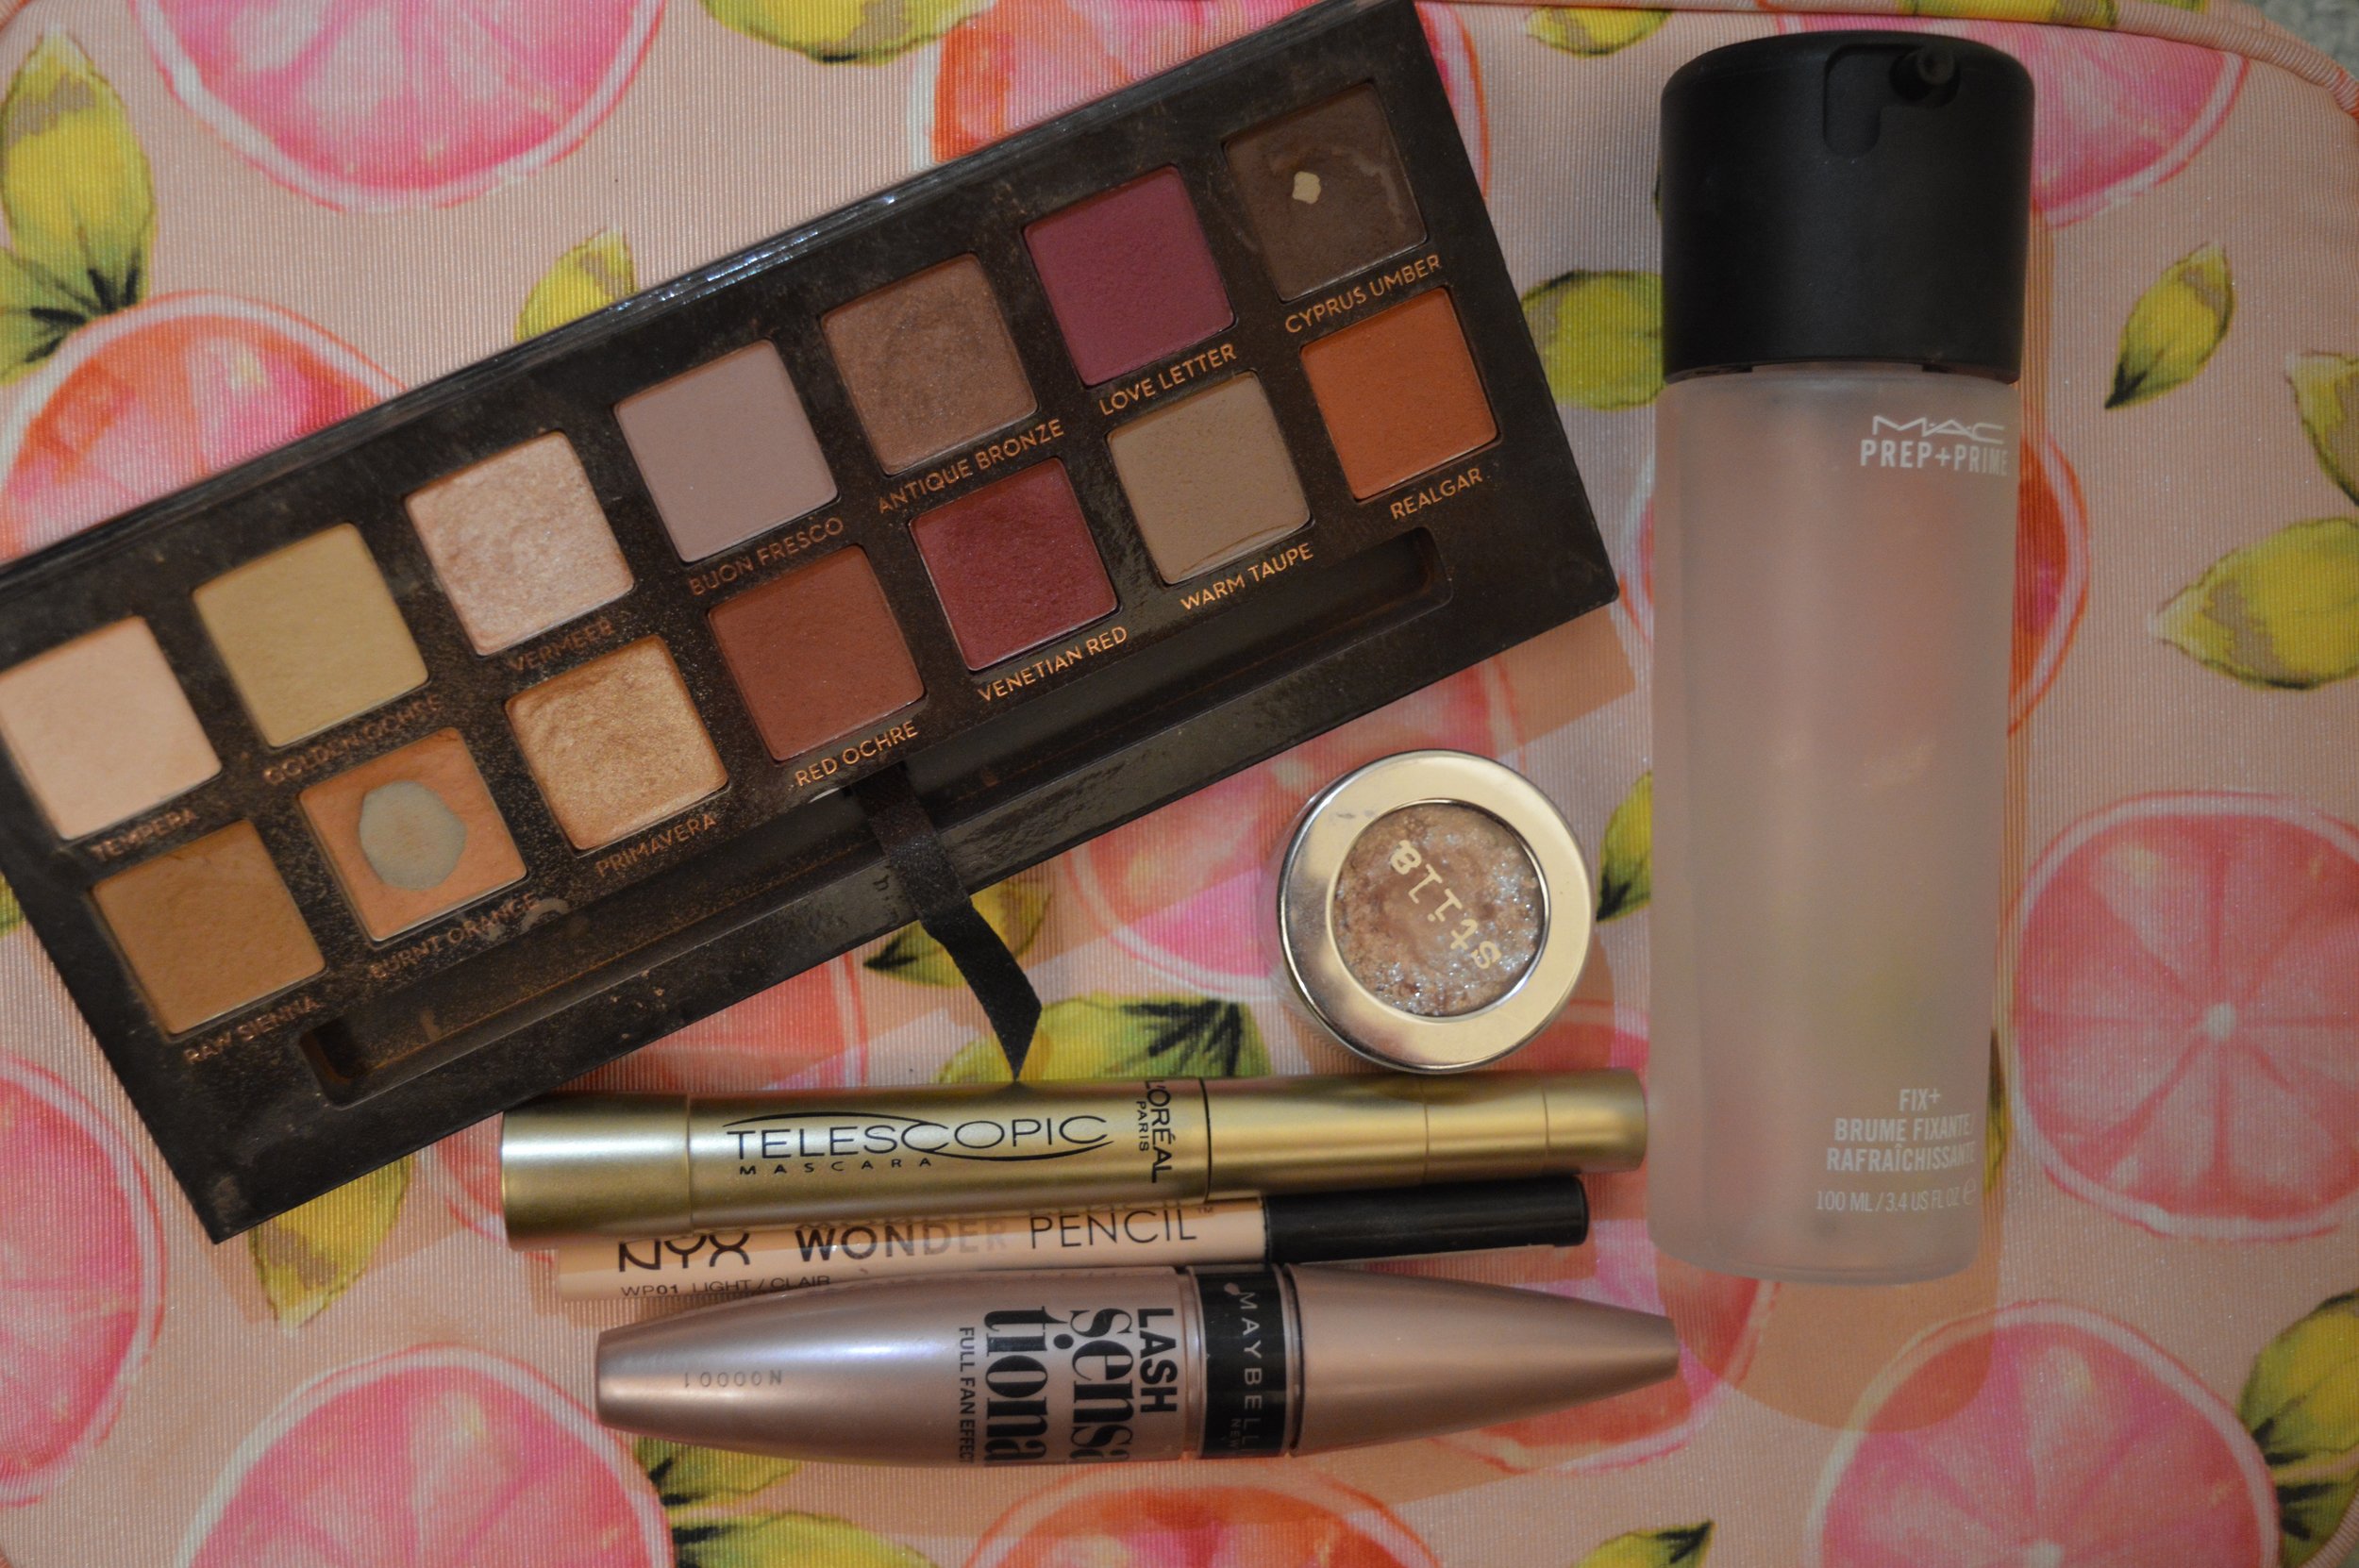
Step 6
Finally, we have the eyes. The only thing you need for this look is a few shades of brown, a shimmery pink lid shade, some sparkle, eyeliner, and mascara. There isn’t much technique in this step but here’s what you do: take the lightest brown shade and use windshield wiper motions over the crease of the eyelid. Next, using the darker brown shade, do the same thing but slightly lower in the crease. Finally, take the shimmery color and sweep it on the lid. Pro tip: try spraying your brush with Mac Fix+ or even water to intensify the shadow. This next step isn’t necessary but if you have it, it adds everything. Using a nice foiled shadow, apply the product with your fingertips to the lid to make them look bright and watery. Don’t forget to use the same shadow in the inner corner and under the brow to illuminate. Finally, I used a nude pencil in the waterline and topped my lashes with mascara and the eyes are done!
Products Used:
Anastasia Modern Renaissance Eyeshadow Pallette
Mac Fix+
Stila Magnificent Metal Eyes in shade Kitten
Maybelline Lash Sensational in shade black (top lashes)
L’Oreal Telescopic Mascara in shade black (bottom lashes)

Step 7
All that’s left is to throw on a neutral lip liner and some gloss! After that, you’re done with this beach goddess look! Hope you all enjoyed what you saw and use some of these techniques on Spring Break! Don’t forget to be safe but HAVE FUN!
